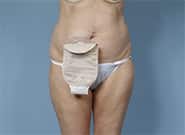
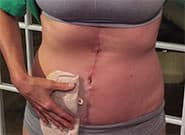
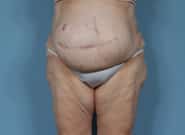
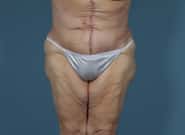
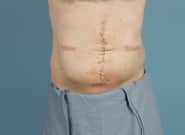
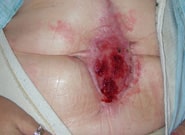
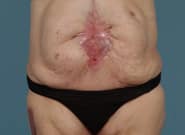
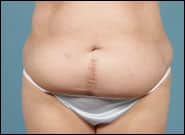
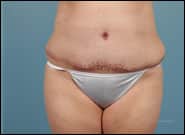
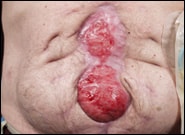
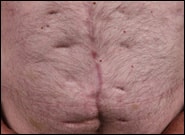
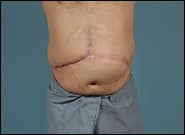
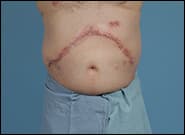
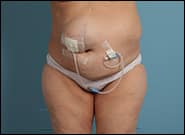
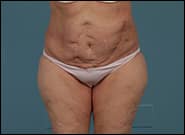
Complex abdominal wall reconstruction for a woman with a midline abdominal wound and drainage of stool after laparotomy. The wound was first closed with a skin graft. The hernia was then reconstructed and the skin repaired with a components separation technique.
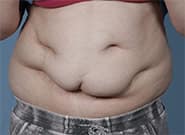
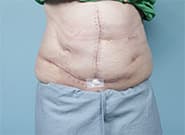
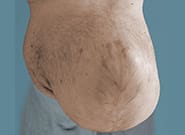
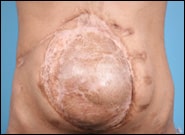
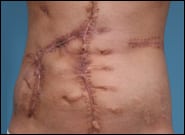
Complex abdominal wall reconstruction with prior skin grafting of hernia. The skin graft was removed, and the abdominal wall repaired with a components separation technique.
Incisional hernias of the midline incision and left lower quadrant incision for a patient on peritoneal dialysis after a kidney transplant. Repaired with mesh and removal of the catheter.